


Nearly 1,600 commercial vehicles were placed out of service for brake-related violations during the Commercial Vehicle Safety Alliance’s unannounced Brake Safety Day held in April.
On April 25, enforcement officials across 52 U.S. states and Canadian jurisdictions conducted 11,531 roadside inspections of commercial motor vehicles. Of those inspections, 13.8% resulted in out-of-service violations—nearly identical to the rate recorded during a Brake Safety Day event held last September.
Just weeks later, law enforcement officers and brake safety specialists gathered at the CVSA Brake Safety Conference in Schaumburg, Illinois. During the event, experts shared detailed insights into what inspectors look for during brake checks, along with practical guidance to help drivers ensure their vehicles are inspection-ready.
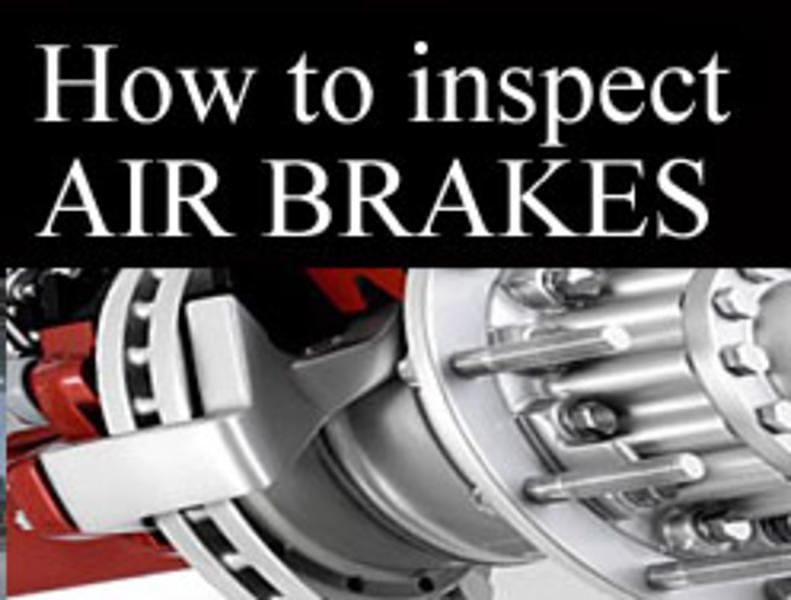
Based on discussions from the conference, here is a refresher on properly inspecting truck air brake systems.
Getting Started
Brake adjustments should always be checked when the brakes are cold. Heat causes brake drums to expand, which can result in longer stroke measurements and inaccurate readings.
Begin by identifying the brake chambers and confirming their size, which is based on the square-inch area of the chamber diaphragm.
Brake chamber size is typically stamped or engraved on both the chamber body and clamp. If these markings are unreadable, a specially designed caliper can be used to measure the chamber and determine the correct size.
Commercial vehicle brake chambers generally range from size 6 to 36, with size 30 being the most common. Steer axle chambers are usually smaller, typically ranging from size 12 to 20. As a general rule, heavier axles require larger brake chambers.
Once the chamber size is confirmed, the next step is determining whether the chamber is a standard-stroke or long-stroke design. This distinction is critical, as long-stroke chambers allow up to ½ inch (13 mm) more stroke than standard chambers.
Long-stroke chambers can be identified in three ways:
Airlines connect to a square-shaped port rather than a round one
A trapezoidal tag under the clamp bolt indicating maximum stroke
Markings on the chamber body specifying long-stroke use only
After confirming chamber size and stroke type, you can move on to verifying proper brake adjustment.
Measuring Applied Pushrod Stroke
There are two accepted methods for measuring applied pushrod stroke:
Method 1: Mark the pushrod using chalk, soapstone, or a marker at the brake chamber or another fixed reference point. The mark should be thin and precise.
Method 2: Measure the distance from a fixed point near the brake chamber to a reference point on the pushrod while the brakes are released.
The initial measurement taken using either method becomes Measurement 1.
Next, build or reduce air pressure by running the engine or pumping the brake pedal until both primary and secondary air tanks read between 90 and 100 psi. Once proper pressure is reached, apply and hold full pressure on the service brake.
Then take Measurement 2:
With Method 1, measure from the mark on the pushrod to the fixed reference point
With Method 2, measure the applied position of the pushrod
Compare Measurement 2 against the adjustment limits for the specific chamber size and type. If the applied pushrod stroke exceeds the allowable limit, the brake is out of adjustment.
Measuring Brake Free Stroke
If time does not allow for a full inspection, a brake free-stroke measurement can provide a quick indication of potential misadjustment.
With the vehicle properly secured and chocked, pull the pushrod away from the brake chamber by hand or with a suitable pry bar and measure the amount of free movement.
If free stroke exceeds ¾ inch (19 mm), the brake is likely out of adjustment. CVSA guidelines recommend performing a full applied stroke measurement to confirm compliance.
It’s important to note that free-stroke measurements offer only limited insight and do not guarantee the brake meets CVSA adjustment requirements.
Inspecting Pushrod Indicator Markings
Many brake manufacturers now include visual indicator markings on pushrods to simplify inspections.
After securing and chocking the vehicle, inspect each pushrod. Out-of-adjustment indicators are usually brightly colored bands. When brakes are properly adjusted, the band remains hidden inside the brake chamber. If any portion of the band is visible—either flush with or extending beyond the chamber face—the brake is out of adjustment.